Up until a week ago we didn't own any beach toys.
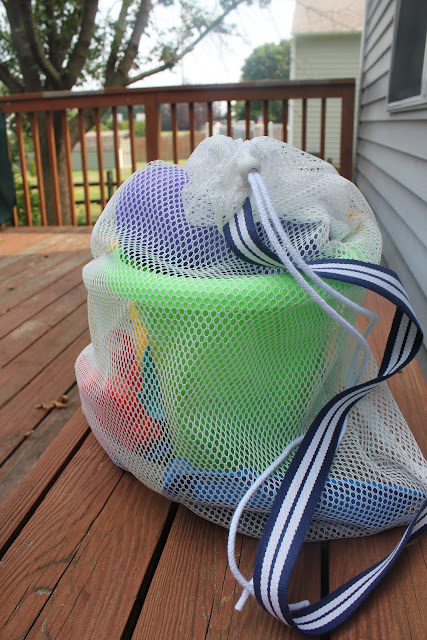
Now we own quite a few. We bought one of those sand-toy kits that includes large shovels, a whole collection of small shovels, rakes, buckets, molds, and anything else you can think of. It wasn't until we got home that I wondered how we were going to store all these pieces. I didn't want to worry about mold growing in a dark container and I didn't want something that would collect sand. I decided to rinse everything and leave it all in the laundry sink until I figured a solution. After a few days I decided to make a mesh bag, similar to what the plastic one the sand-toy-kit came in, except something more durable and permanent.
This bag allows the sand and water to fall right out the bottom of the bag!
I didn't bother looking up patterns or tutorials, I just went with the image I had in my head and crossed my fingers.
I'm quite happy with the end result and thought I'd share it with the world.
Materials:
- 27" of Mesh fabric (don't ask me why but when trying to determine how big to make the bag I kept going back to 27")
- 30" of 1 1/2" belting
- 1.5 yards of cording
- drawstring thing (pictured below)
The fabric come appoximately 45"W and folded in half. This fold will be one side of your bag. Decide which end you want to be the bottom (it doesn't matter) and sew the bottom of your bag together. Serge the bottom edges.
Serge along the top edge. Do not serge the top together. Serge only a single layer of fabric.
I didn't bother serging the sides of the bag since the side edges are the selvages. (If you want to serge the sides make sure you do it before you sew the bottom together).
I didn't bother serging the sides of the bag since the side edges are the selvages. (If you want to serge the sides make sure you do it before you sew the bottom together).
Your bag should look similar to this. The bottom edges are sewed together. The top and side is still open.
Pinning this fabric isn't easy. Try sticking the pins into the selvages - they will hold fairly well there. Pin the side together in a few places the place a pin approximately 1" down from the top. Now place another pin another 1" down. These pins are acting as place holders. When you start to sew you will not sew between these 2 pins!
Before you begin sewing you want to pin your belting in place. (I serged the ends of the belting). Make sure you tuck your belting into the bag and have the edges of the belting even with the raw edges of the bag. Also make sure the belting isn't twisted. I placed one end of the belting less than an inch below the second pin (which would make it less than 3" from the top of the bag) and the other end at the bottom of the side. Pin in place.
Sew down the side of your bag. Backstitch at the beginning and end. Remember, do not sew between those 2 specially placed pins. Backstitch at the start/stop of those 2 pins as well, for added strength. I also backstiched over the belting several times.
Fold the top of your bag down approximately 2" to create the drawstring casing. Make sure the edge goes below the hole you created on the side.
Now string your cording through the casing. Normally, I'd use a safety pin to help me string something through a casing, but with this material I found it much easier to simply push the cording along.
Add the drawstring thingy.
Tie a knot at the end of each side of cording.
Turn bag right side out.
That's it.


No comments:
Post a Comment